Wall panel installation is one of the most effective ways to refresh any space. Whether you’re upgrading a living room, office, or commercial interior, the right approach to wall panel installation can turn bland surfaces into elegant focal points. From selecting materials to ensuring precision alignment, mastering the process ensures a professional look and long-lasting results.
Understanding Wall Panel Options
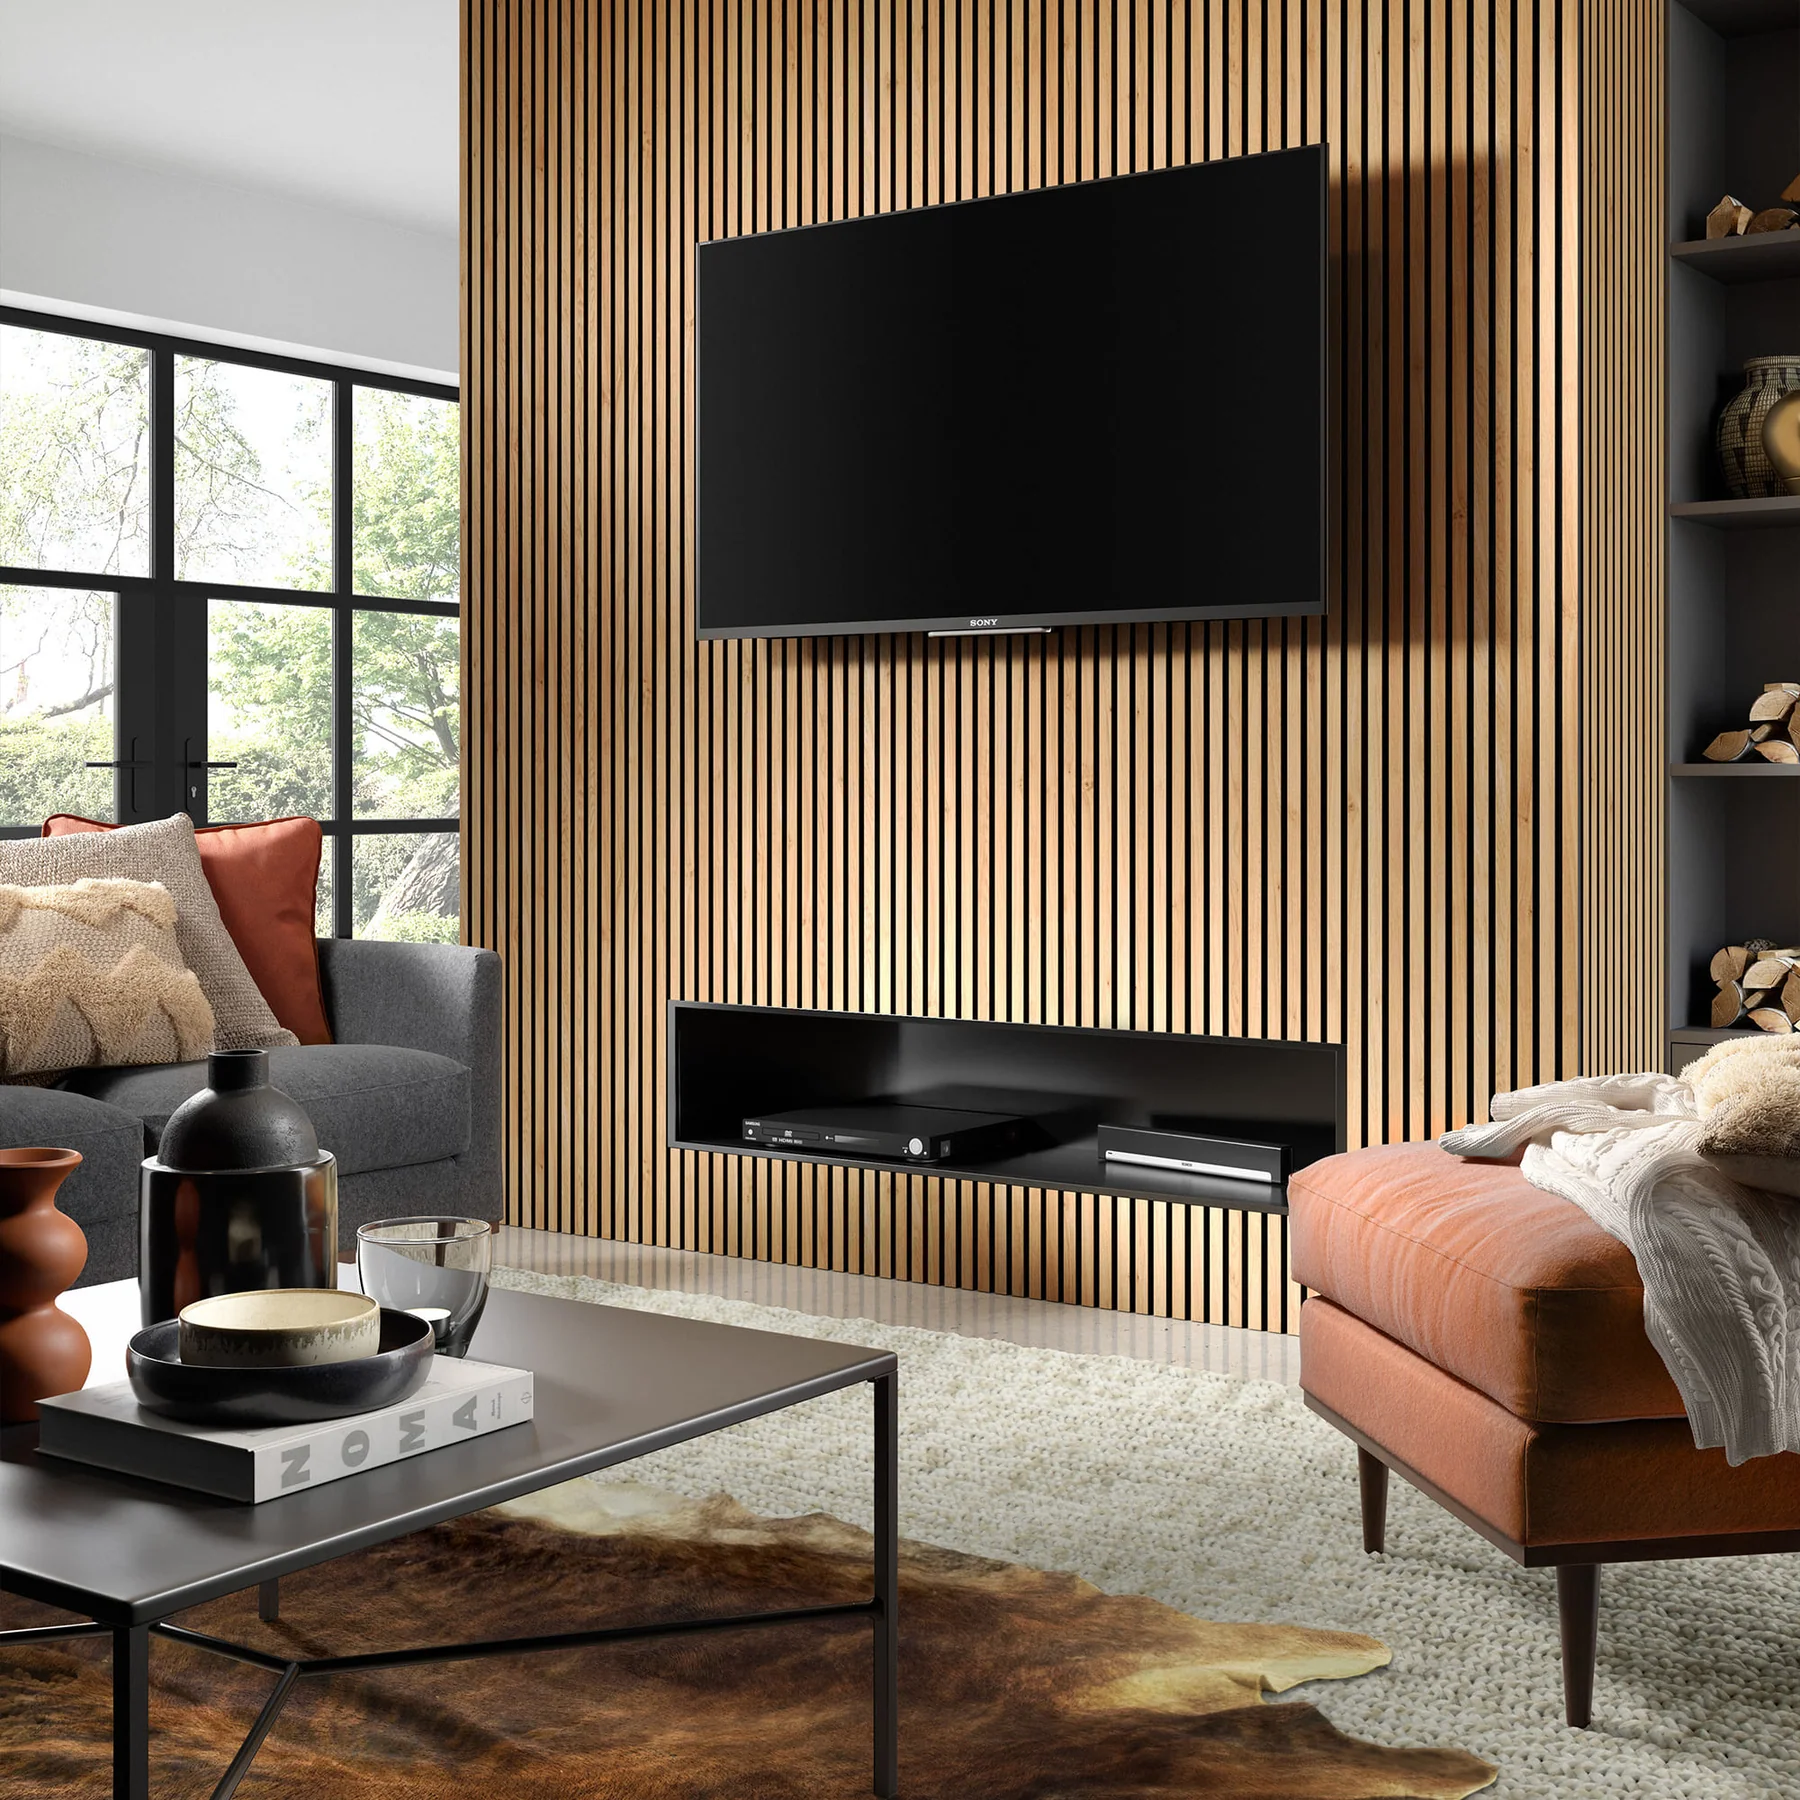
Solid Wood vs Veneer Finishes
The market offers a range of wall panel options, but nothing compares to the elegance of wood. For premium wall panel installation, solid wood with veneer finishes offers luxury and durability. These panels not only look rich but also resist wear better than cheap alternatives.
Customization Flexibility
Wall panel installation allows for incredible flexibility. With endless wood finishes, panel sizes, and installation patterns, it’s easy to tailor the design to match your room’s character. Vertical lines create height, while horizontal patterns expand the space visually.
Preparing for Wall Panel Installation
Surface Preparation
Before starting wall panel installation, the wall must be clean, dry, and level. Any irregularities can interfere with panel adhesion and alignment. Marking guidelines ensures consistent positioning and a smooth layout.
Measuring and Layout Planning
Careful measurement is key to precise wall panel installation. It prevents waste and reduces cutting errors. Plan the layout before adhering panels, especially around outlets, corners, or windows, where trimming may be needed.
The Installation Process
Adhesive Application
Use a high-quality adhesive for strong bonding. Apply the glue in vertical beads along the panel back. Proper adhesive technique during wall panel installation is essential for durability and alignment.
Alignment and Placement
Each panel should be placed slowly and pressed firmly against the wall. Using a level tool ensures proper alignment throughout the wall panel installation process. Misaligned panels disrupt the pattern and are difficult to fix later.
Post-Installation Finishing Touches
Trimming and Edging
To complete your wall panel installation, use wood trim or edging to frame the wall neatly. This adds a polished touch and hides any imperfections at the panel edges or wall corners.
Maintenance and Cleaning
After wall panel installation, keeping the surface clean is simple. A damp cloth usually suffices. Avoid harsh cleaners that may damage the veneer. Regular dusting will keep your panels looking like new.
Common Mistakes to Avoid
Ignoring Wall Condition
Skipping wall prep can ruin the result. Cracked or uneven walls compromise the adhesion and appearance of the panels during wall panel installation.
Rushing the Process
Patience is critical. Take the time to measure and level correctly. Rushing wall panel installation can lead to misalignment, wasted materials, and an amateur finish.
Why Wall Panel Installation Adds Value
Wall panel installation enhances not only the visual appeal but also the property’s value. Well-done wood paneling brings a sophisticated aesthetic that buyers and visitors notice immediately.
Conclusion
When done correctly, wall panel installation transforms a room from ordinary to extraordinary. It’s an investment in style and substance, offering both beauty and functionality. Whether you’re DIY-ing or hiring professionals, following these tips ensures your wall panel installation delivers a flawless result every time.